First steps
This page takes you from a new account to a working inbox. Everything here is done once; after that you live in the inbox.
1. Create an account
Sign up at app.firstreply.ai with your work email address, or with a Google or Microsoft account.
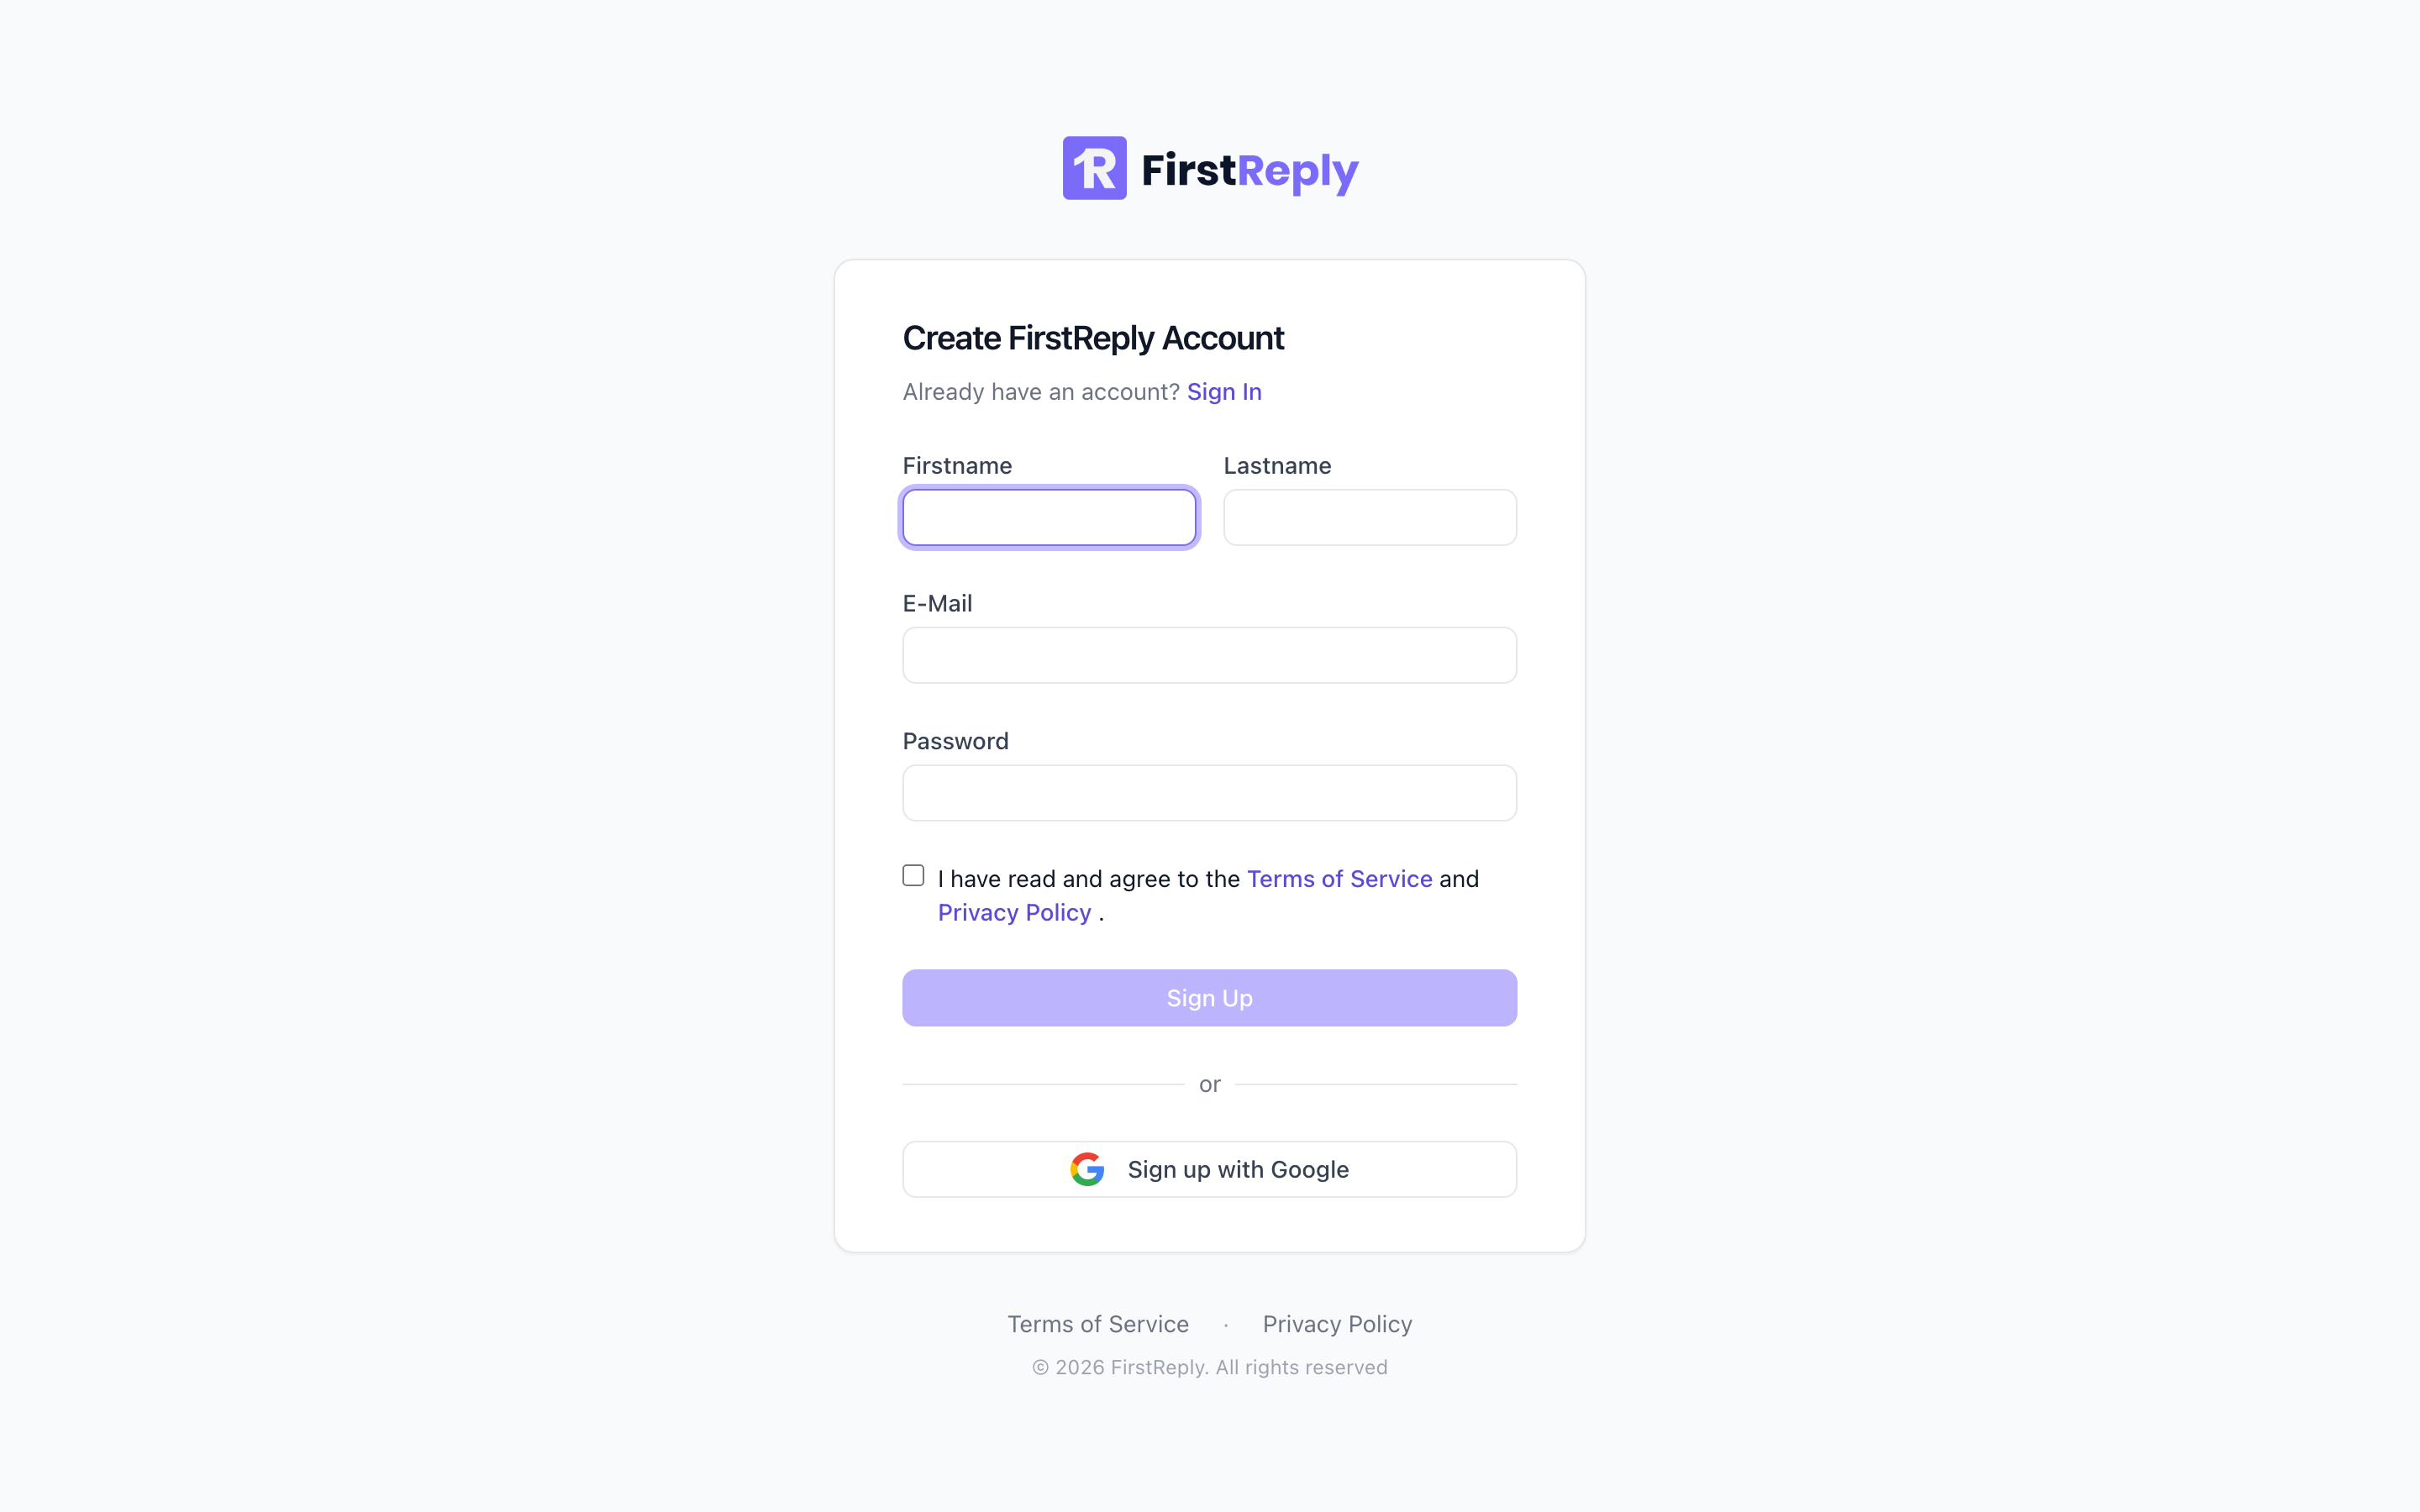
FirstReply sends a verification link to the address you entered. The link is valid for 24 hours. Until you click it, you can sign in but not open a workspace, so do this before anything else.
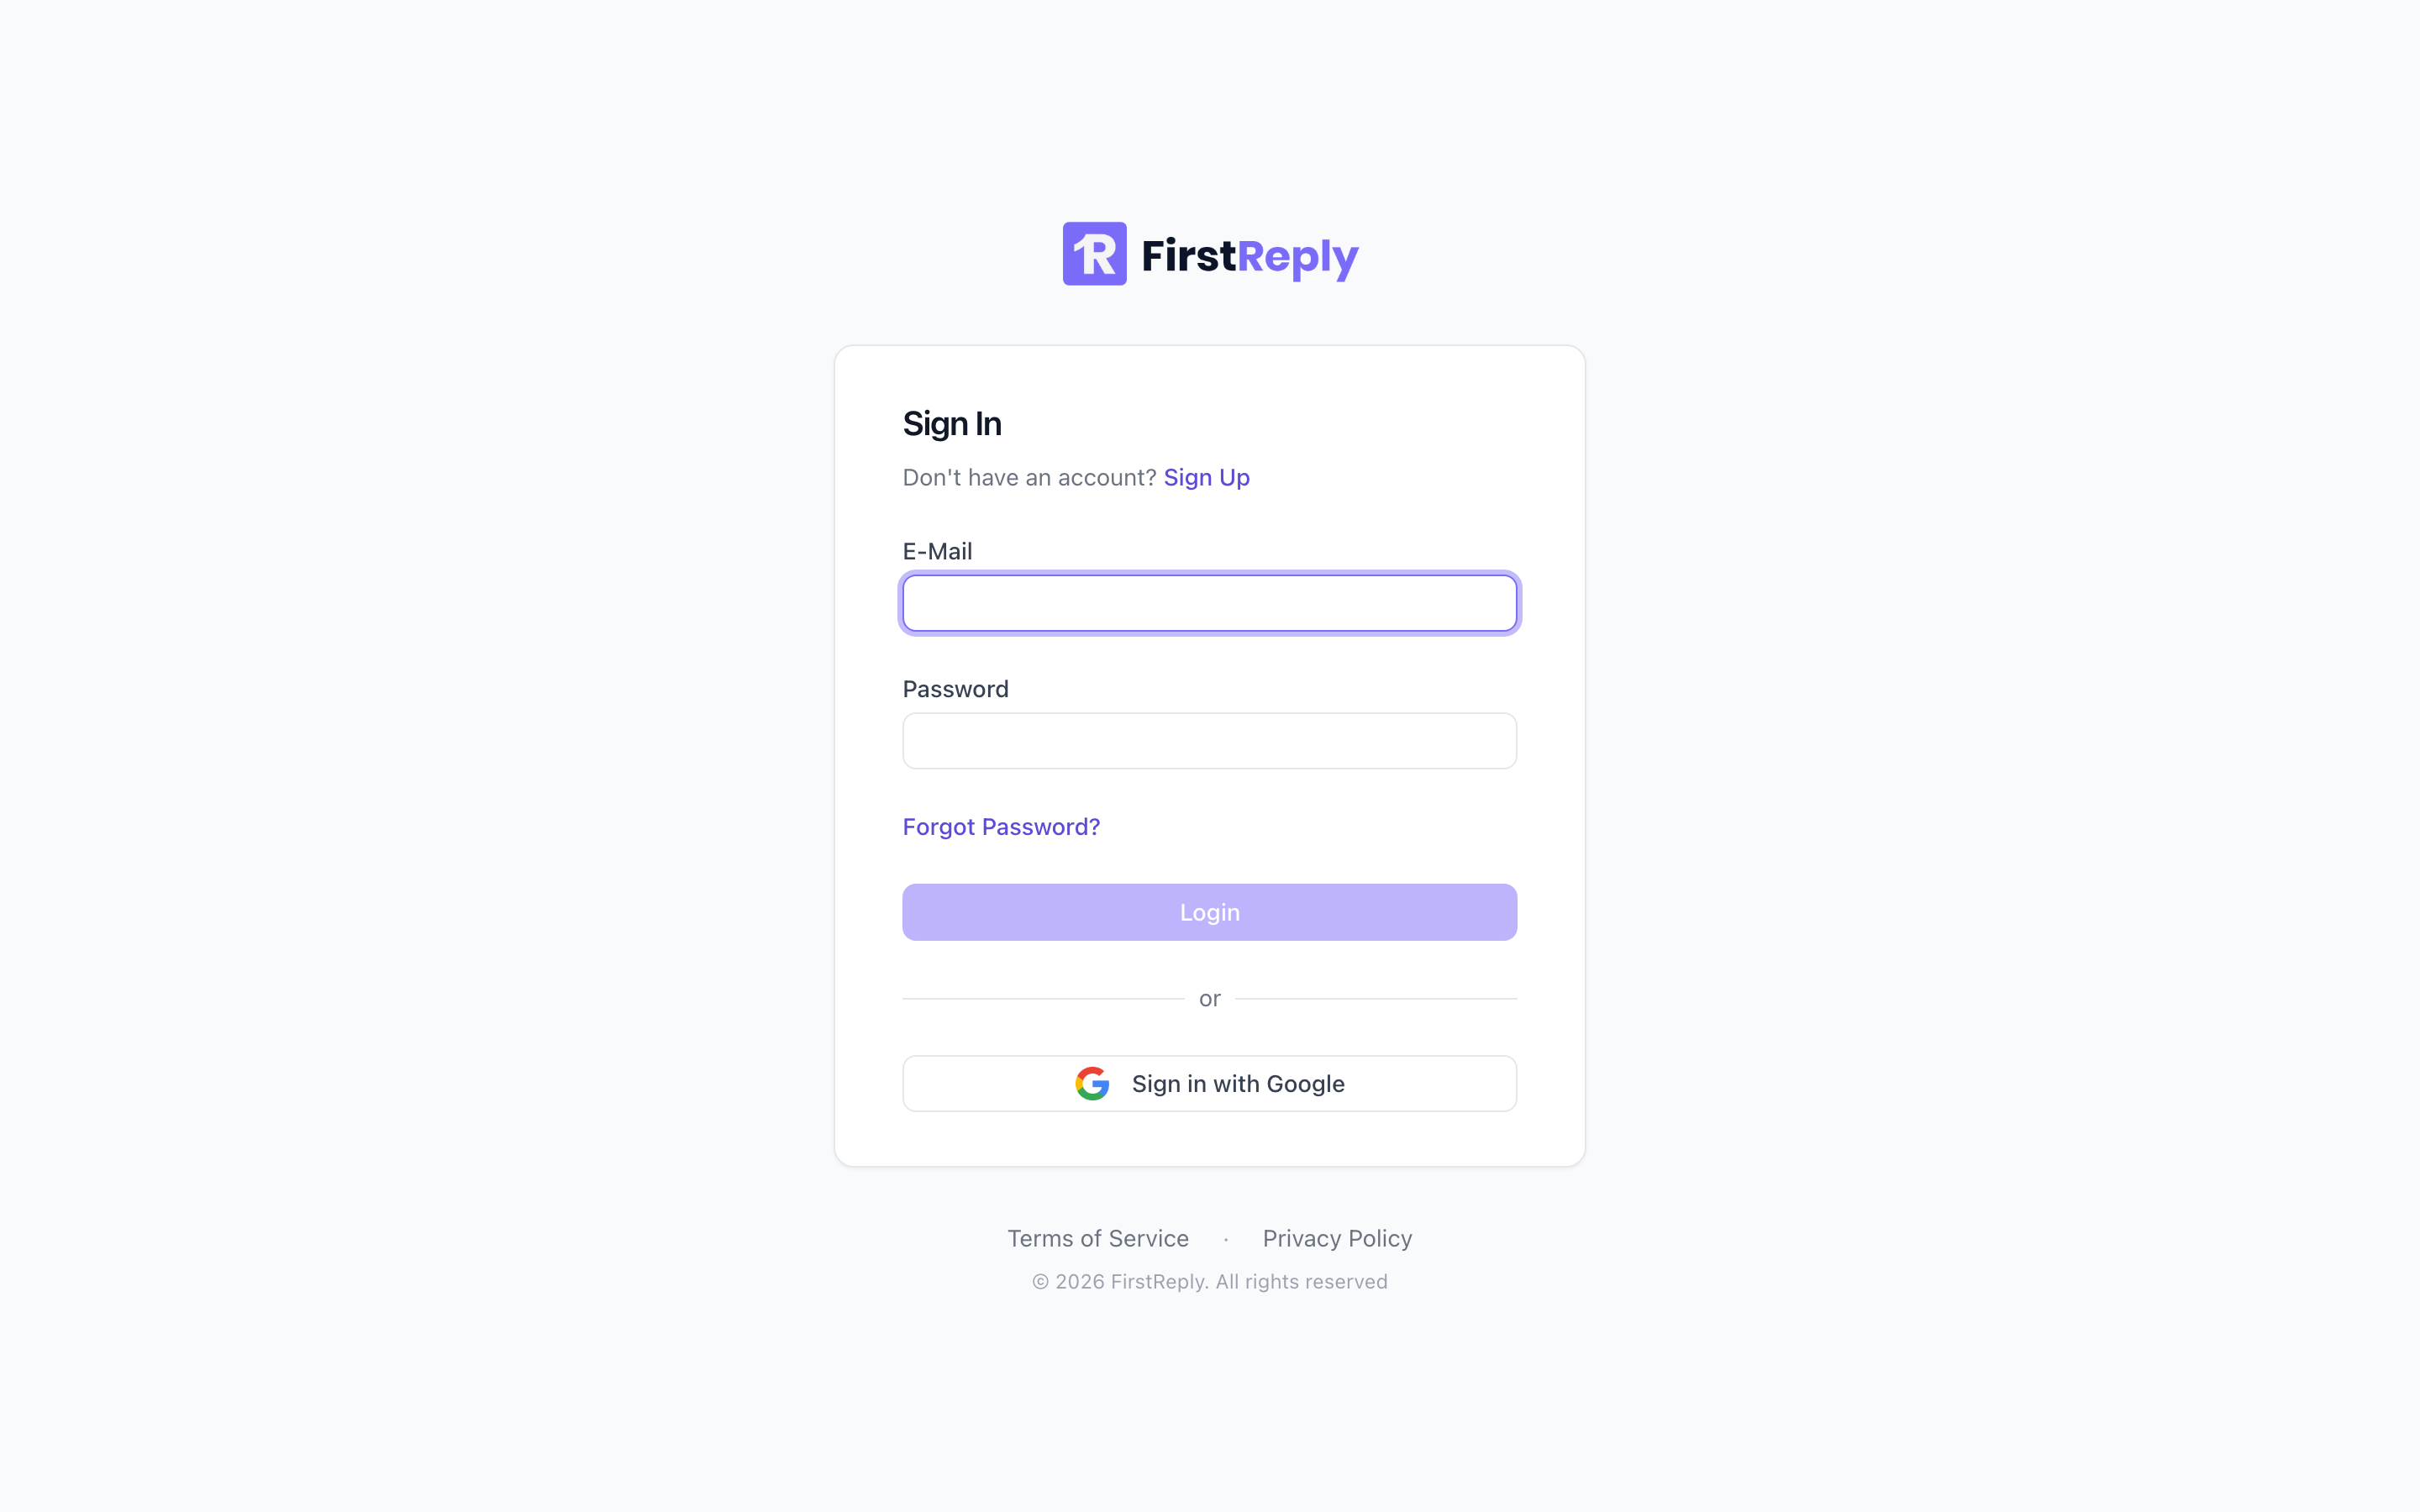
Use an address you can still reach in a year. It is the address that receives password resets and, later, the workspace summary emails.
2. Create your workspace
A workspace (called an organization in the interface) holds everything: channels, conversations, contacts, the knowledge base and your team. Most companies need exactly one.
Give it your company name. The name shows up in the app and in the emails your team receives, not in the replies your customers get.
3. Connect the first channel
A workspace with no channel has nothing to show. Add one inbox — an inbox is one connected channel, not a folder.
Start with the channel your customers already use:
| If your customers write to… | Add this inbox type | Setup guide |
|---|---|---|
An address like support@yourcompany.com | ||
| A widget on your website | Website chat | Website chat |
| Your WhatsApp Business number | ||
| Your Facebook page | Messenger | Messenger |
Email is the usual first choice because nothing has to change on your side: you connect the mailbox that already receives support mail.
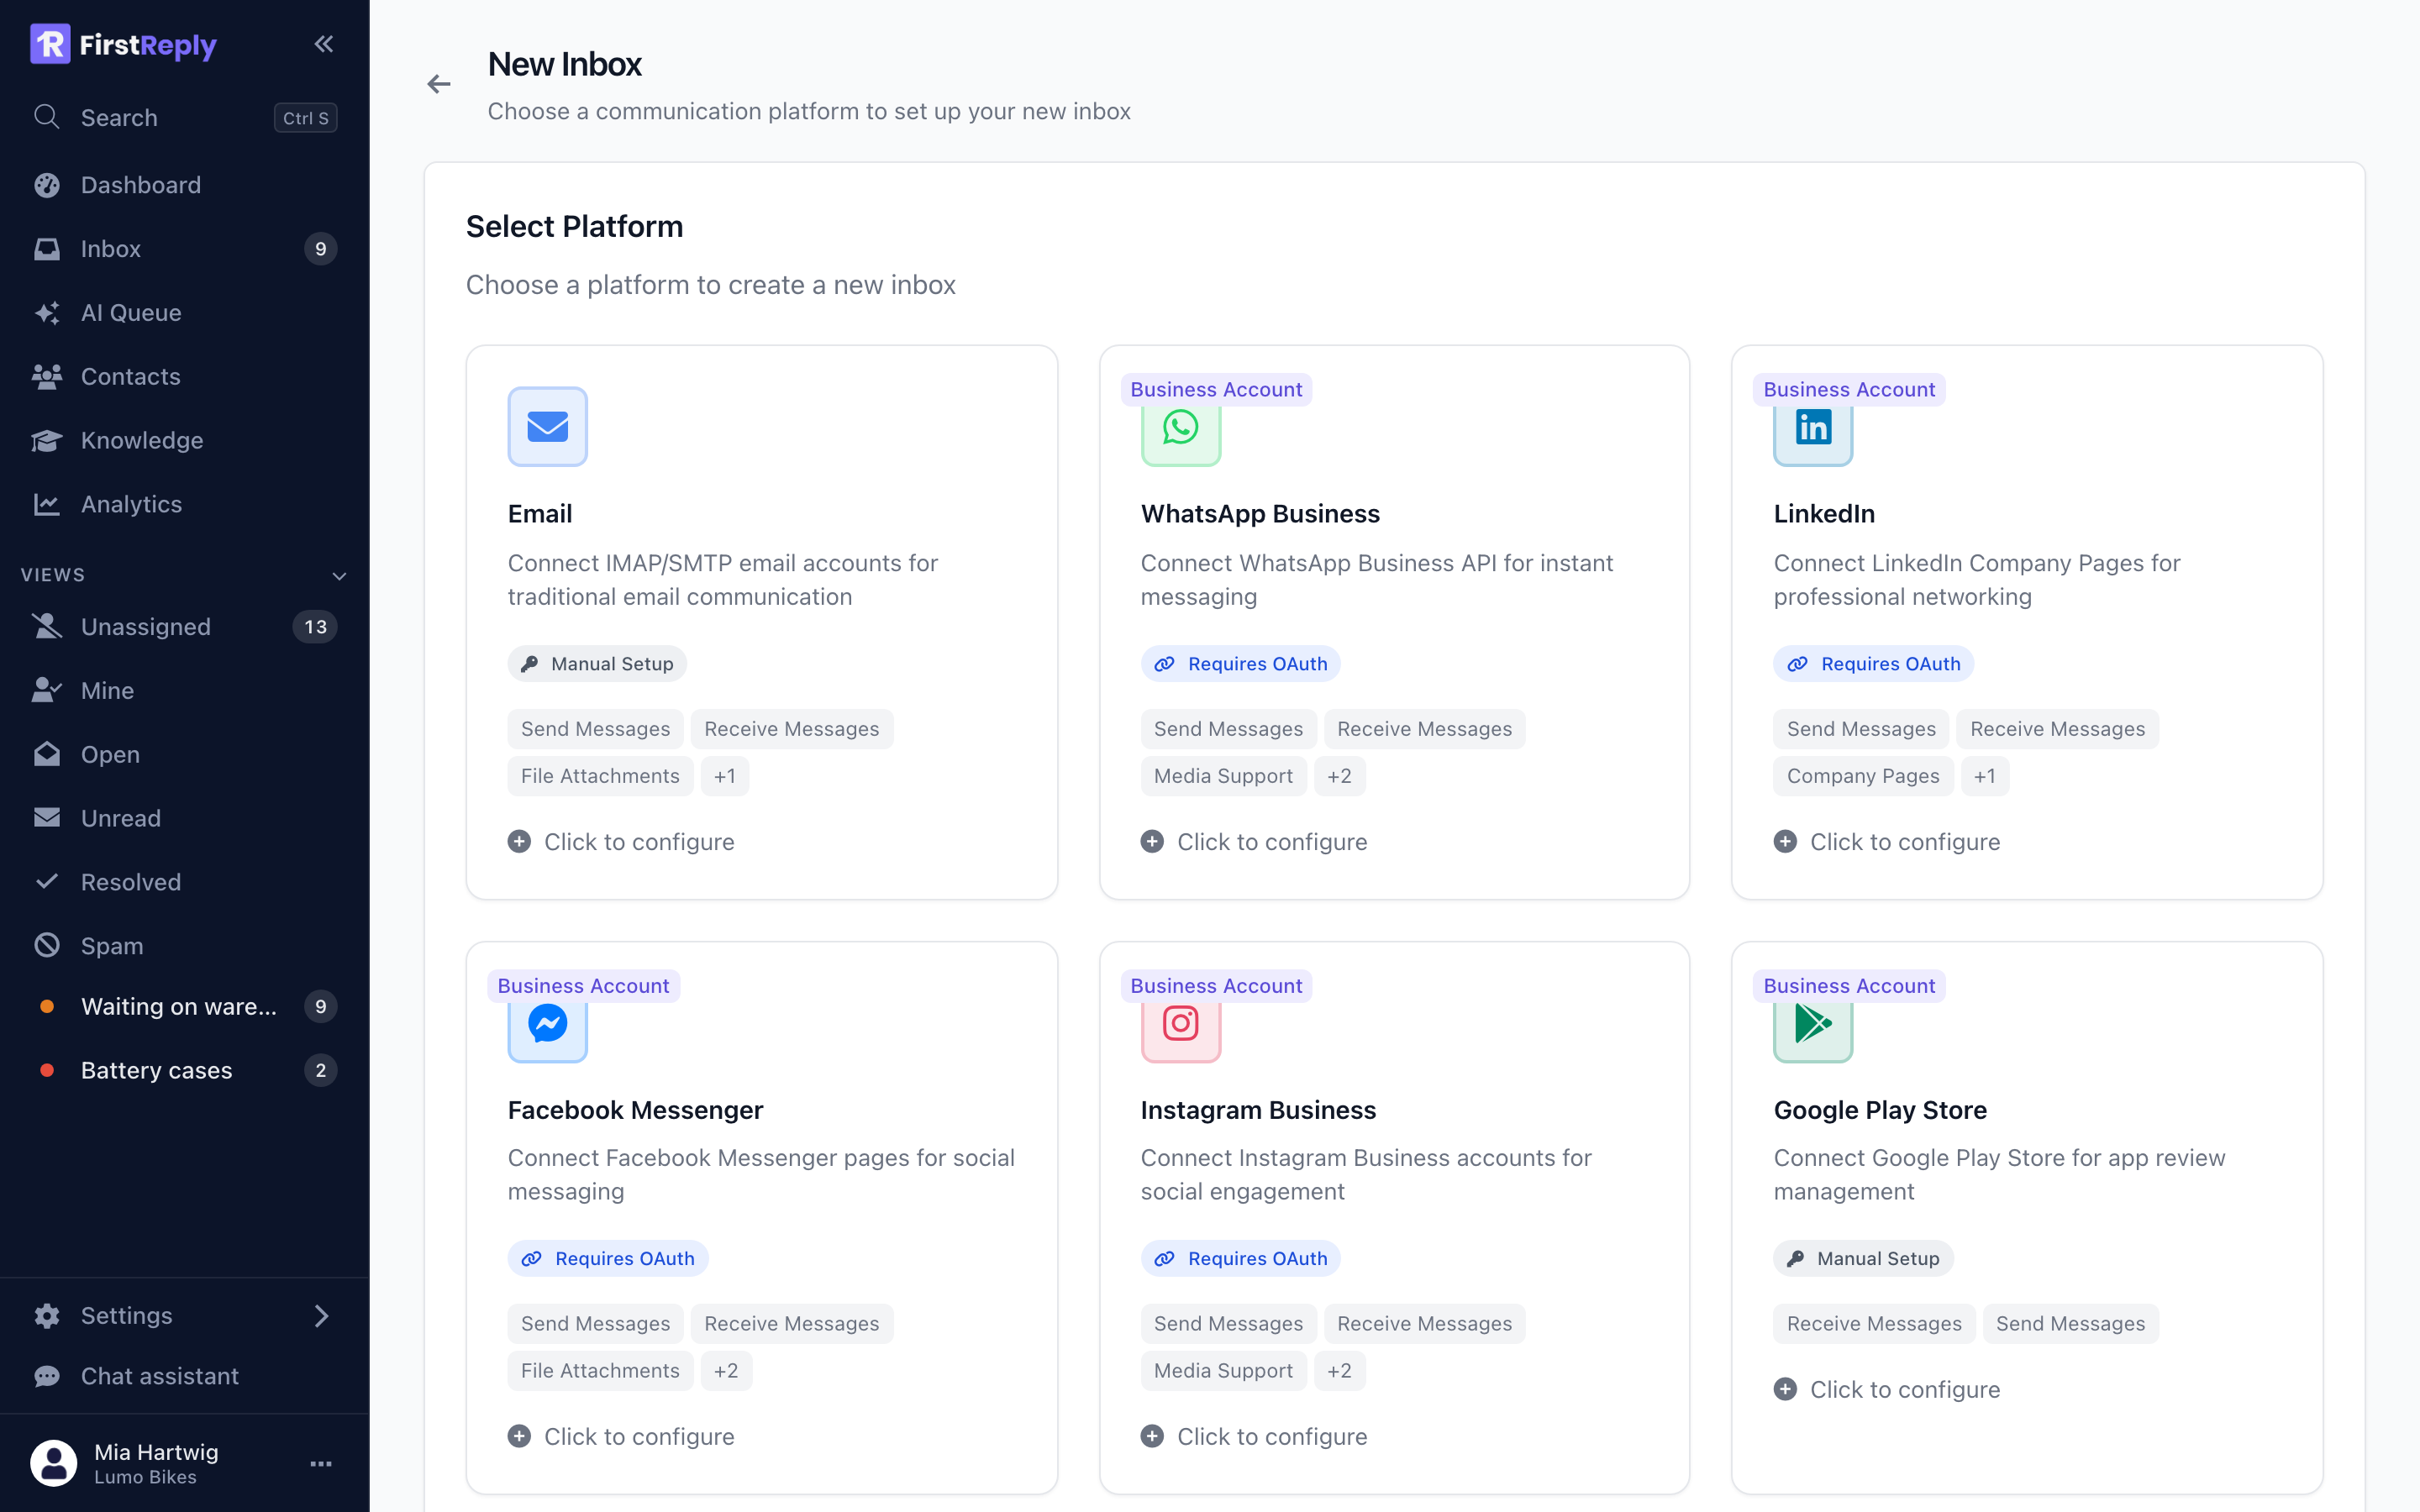
Once the inbox is connected, FirstReply fetches recent messages and new ones arrive within a minute or two.
4. Feed the knowledge base
The assistant answers from your knowledge base and from nothing else. With an empty knowledge base it will hand every conversation to a human, which is safe but not useful.
The fastest start is to point a knowledge source at a help center or documentation site you already have. FirstReply crawls it, splits the pages into passages and keeps them in sync.
If you have no help center yet, write five to ten articles by hand covering the questions you answer every week. That is enough to get value. Writing good knowledge explains what makes an article usable for the assistant.
5. Set up classifications
A classification is a category for incoming messages, and it is where you decide how much the AI is allowed to do. Create one per kind of request you handle, for example Shipping, Returns, Billing, Technical.
For each one you choose whether the assistant replies by itself, only prepares a draft, or stays out of the way.
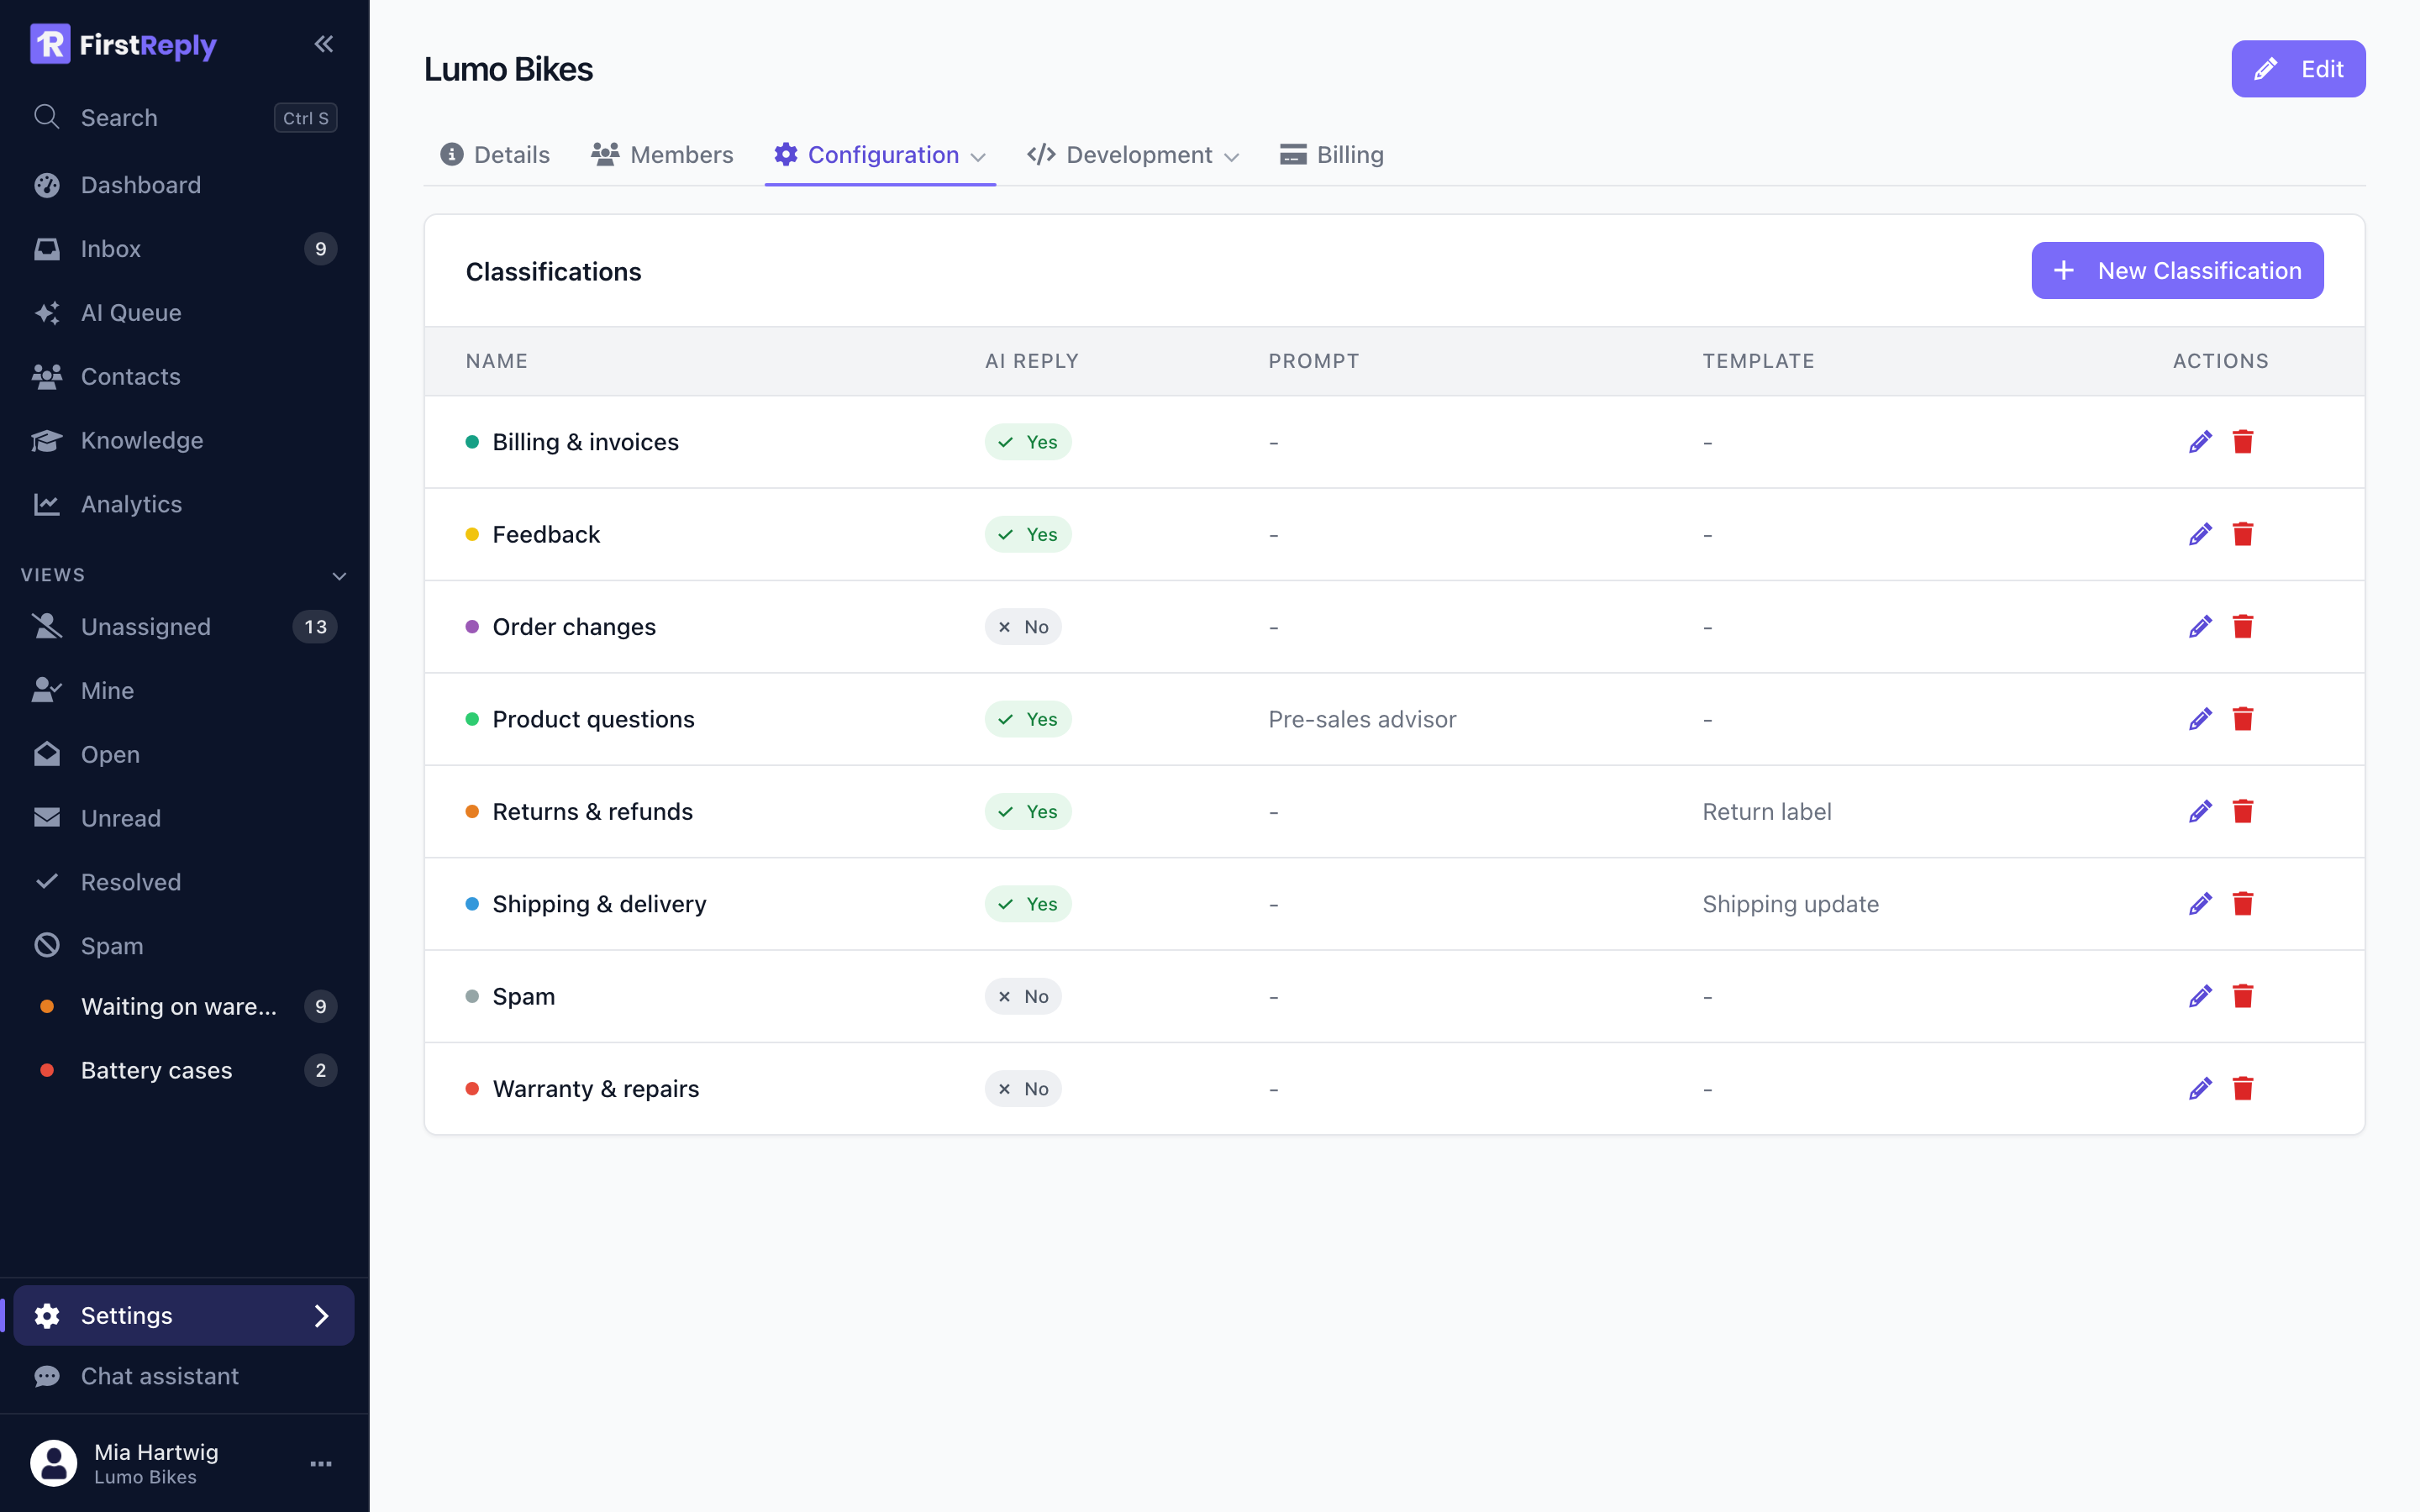
Start conservatively. Turn on automatic replies for one or two low-risk categories, watch the answers for a week, then widen. Classifications covers every setting in detail.
6. Invite your team
Add the people who will answer messages under Settings → Members. Each person gets a role that decides what they may change; see Members and roles.
7. Answer the first conversation
Open the Inbox, pick a conversation, and reply. If the assistant already drafted something, you get its draft in the editor and can edit it before sending.
That is the whole loop. From here:
- Take the tour of the interface.
- Learn how the AI decides what to answer and what to escalate.
- Set up the AI Queue so nothing urgent gets buried.